")
")
")
")
")
")
Welcome
- Details
- Written by: admin
- Category: Willkommenstexte
-
Also available:
")
")
- Hits: 3026
Welcome on BeSly the Haiku knowledge base.
This site are created to help other users and developers. What to start, has begun in August 2004 with only German translations and little tutorials has now become a comprehensive, informative, multi-lingual knowledge base.
It contains a variety of assistance to install, program descriptions, program and system settings. We always try to make the tutorials easy to understand with a simpe but effect layout. In the years the site is online many ideas are included into the website. Idears from other users, like the system information at the beginning of every tutorial.
The menu structure is designed so that all instructions are displayed sorted by their program type. You can also use the search function to find tutorials.
There is also a small Software that allows you to find BeSly tutorials. Here also all programs listed by there program type, but also by the system type, language or authors. Even the smallest instructions are included, usually found only in collections of "Tips and Tricks".
Due to the similarity between the systems, wich are all have the same basis or be a rebuild, many of the tutorials are applicable on all systems.
Who wants to help this project, can do this writing their own tutorials, descriptions or translations. Also ideas or criticisms are welcome.
With the relaunch of BeSly it is now possible for the user to write the instructions themselves in the web interface. Even uploading pictures should be no problem. The only condition is to log on the BeSly. Your data will not pass from us.
How to set the App Version and Description long text
- Details
- Written by: lorglas
- Category: Development
- Hits: 1264
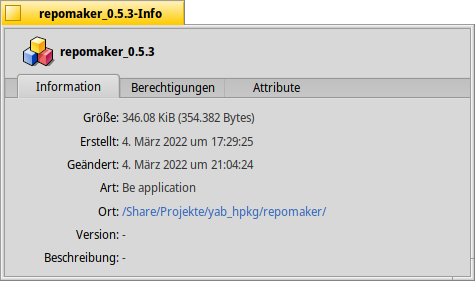
Sometimes you want to add the Version Info and a description to your program.
In this example you can see that the version and description (Beschreibung) is empty.
To set this, you can use the command setversion over the terminal. to do that, open the Terminal and type setversion -h and press Enter.
| setversion -h |
After this you get this information.
|
setversion: you did not specify any version Usage: setversion filename |
To set the version and the description you can use the example code below.
Example code:
|
setversion /Share/Projekte/yab_hpkg/repomaker/repomaker_0.4.5 -app 0 0 0 -long "This is a tool to manage your own Repository" |
In this example i define the location of the app. After that, i write the version for major middle minor.
 |
Keep in mind, that between the major middle and minor value is a space, not another character. No Minus or dot or somethink else. |
After the minor string it is possible to set the long version info text with
| -long "This is a tool to manage your own Repository" |
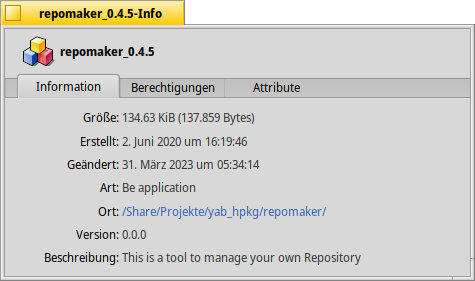
If you set the app version and the long description with the previous example code, you get this result.
Here are a list of further option, but i didn't test it right now.
| d | development |
| a | alpha |
| b | beta |
| g | gamma |
| gm | goldenmaster |
| f | final |