The Playground Editor is a program with which you can create playing fields for games. To do this, you specify a size for the playing field, import graphics and place these graphics on a generated grid.
You can define different backgrounds, objects and switches (example: background = meadow, object = tree, switch = treasure). Once you have created your playing field, it can be saved as a project. This makes subsequent editing easier.
The saved project can be exported. The exported playing field is a text file with the entries of the playing field and the associated graphics. If you want to incorporate this into a game, you have to read out the text file and use the read out data to generate the playing field.
In the text file, 3 numbers per field of the playing field are separated by a colon. Each field is marked with a straight vertical line | separated:
|
BG01:OB02:SW00|BG01:OB03:SW04|… |
The first number is the number for the background, the second for the item, and the third is the switch.
This makes the generation of playing fields much easier. Because, unlike in most common forms with w for wall, p for player and spaces for empty space, you can plan a complete world here. The switch can stand for many things, e.g. for a random function for opponents, finding objects or the destination of a level.
In the editor you can insert a comment for each object, which provides a better overview, especially with the switches.
Installation
Since the Playground Editor is not part of the Haiku standard installation, it must be installed from an external source.
To integrate the installation source into HaikuDeport enter the following command line in the terminal:
BeSly 32bit
| pkgman add-repo https://software.besly.de/repo |
BeSly 64bit
| pkgman add-repo https://software.besly.de/repo64 |
Then open HaikuDepot and update the repository server via "refresh repositories" in the HaikuDepot menu.
After the update has been completed, the packages from our repository server are also listed in the package lists.
Search for PlaygroundEditor and install it.
Create a new project
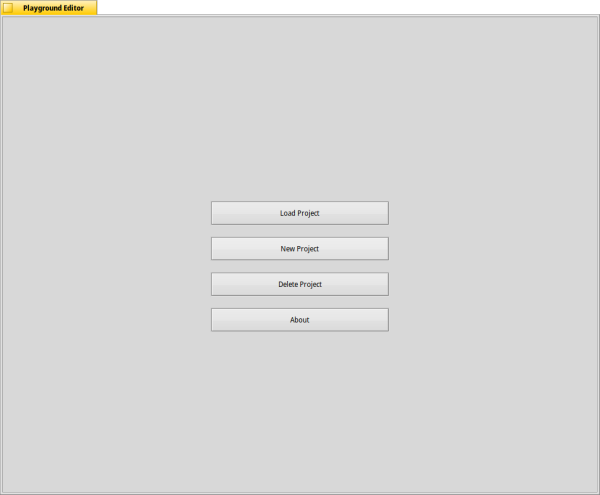
In the start menu of the program select "new project".
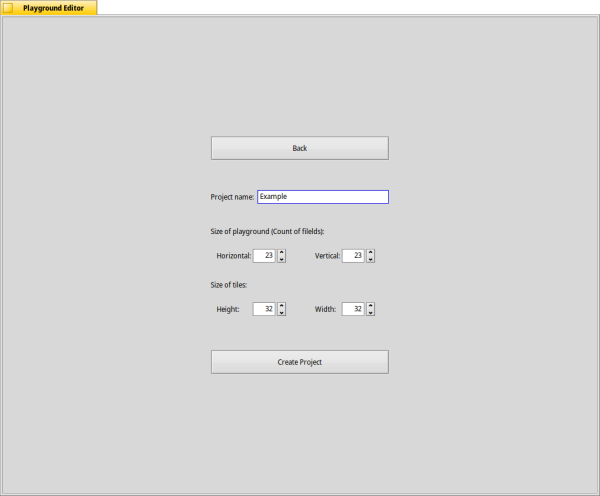
In the next window you define the size of the desired playing field (vertical fields and horizontal fields) and its name.
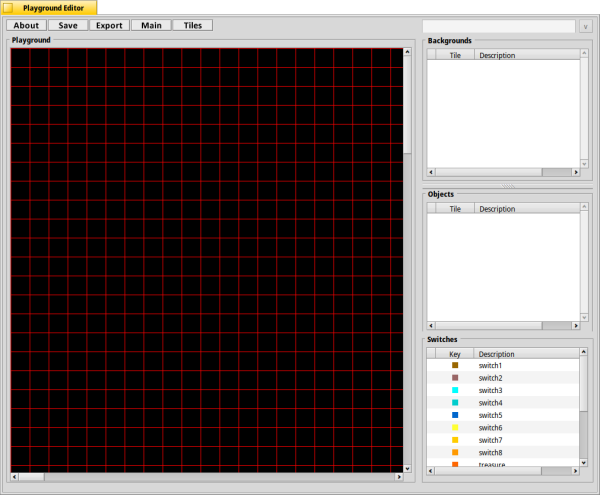
After confirming this information, the playing field will be created. This is initially a grid with the desired number of fields.
Insert graphics
Now go to "Tiles" to add playing field graphics (tilesets).
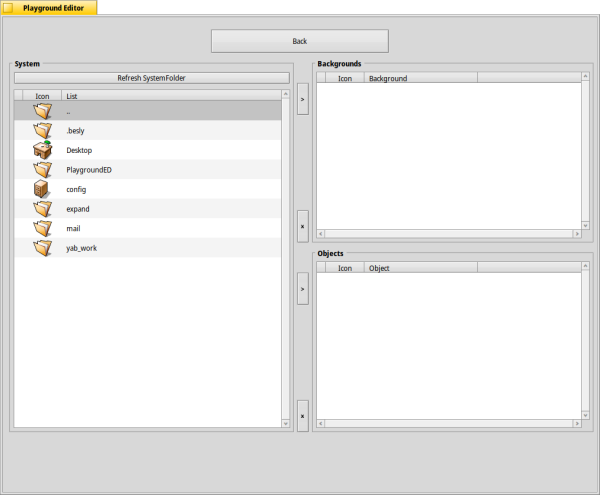
To add graphics here, search in the left directory list for the corresponding graphic and add it to the desired area (backgrounds to "Backgrounds", objects to "Objects").
After adding the tilesets, go back to the editor. The tilesets that have been added are now displayed here.
Painting the playing field
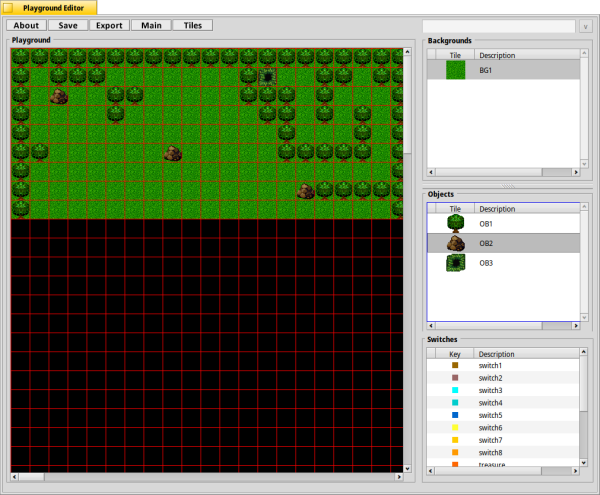
There are three lists in the right area of the editor. One for the backgrounds, one for the objects and one for the switches.
To paint a playing field, select one of the graphics listed and paint it on the editor field on the grid area by pressing the left mouse button.
Descriptions of the tilesets
To ensure a better overview, every background, every object and every switch can be given a description. To do this, select one of the entries and use the right mouse button to select the "Add Description" option. A description can then be inserted and added in the upper right input field.
Export playing field
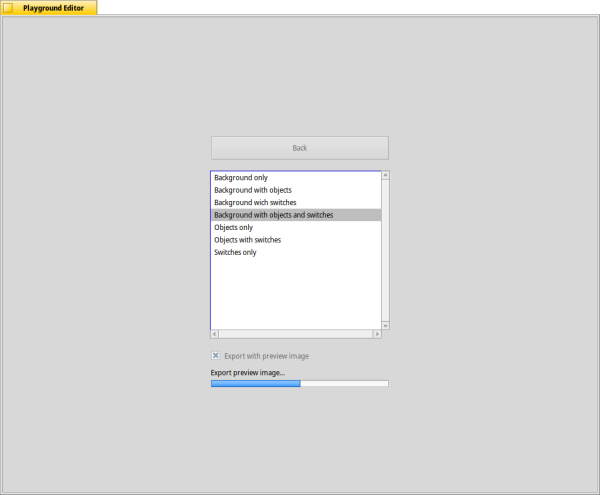
To export the playing field go to "Export".
There are several ways to export the playing field. The playing field can be exported in whole or in part. To do this, select the appropriate storage option and press export.
The different options allow different processing of the playing field file. Everyone has different approaches and logic in programming. Therefore you can create a classic playing field here which is simple and simple, or you can use all functions and use the extensive range of functions.
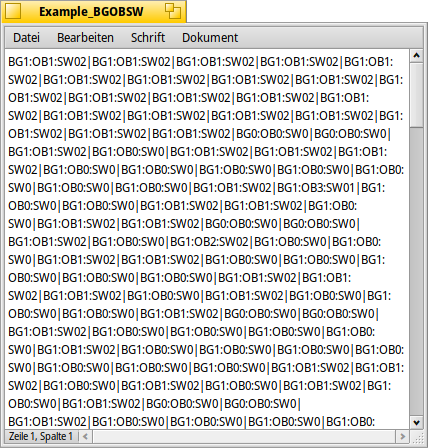
The exported playing field is output as a text file.
You can also export a screenshot of the playing field when exporting. This makes programming easier because you can see what is where better without looking at numbers and letters.


